See the app
Every conversion follows the same five steps. The app checks your drive and the firmware files first, and nothing is written until you confirm.
- 1
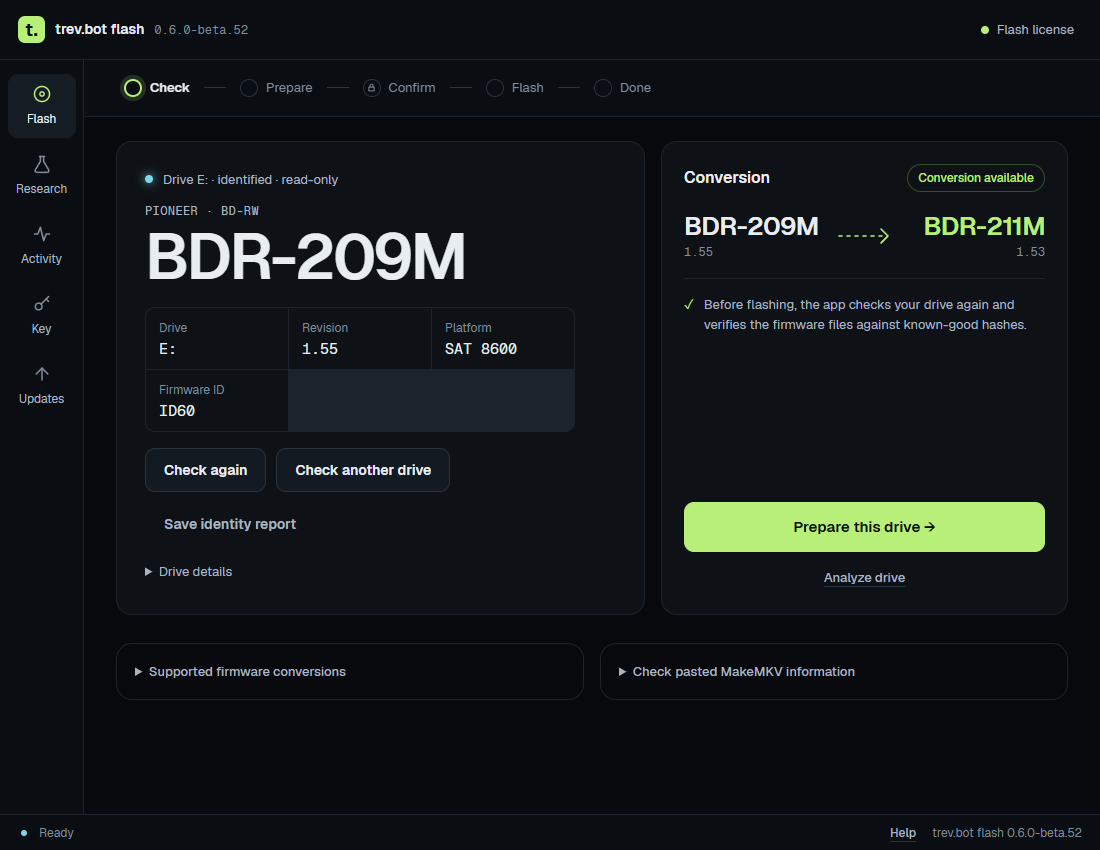
Check
Connect your empty drive and check it. The app reads the model and firmware without changing anything, and shows the conversion it supports.
- 2
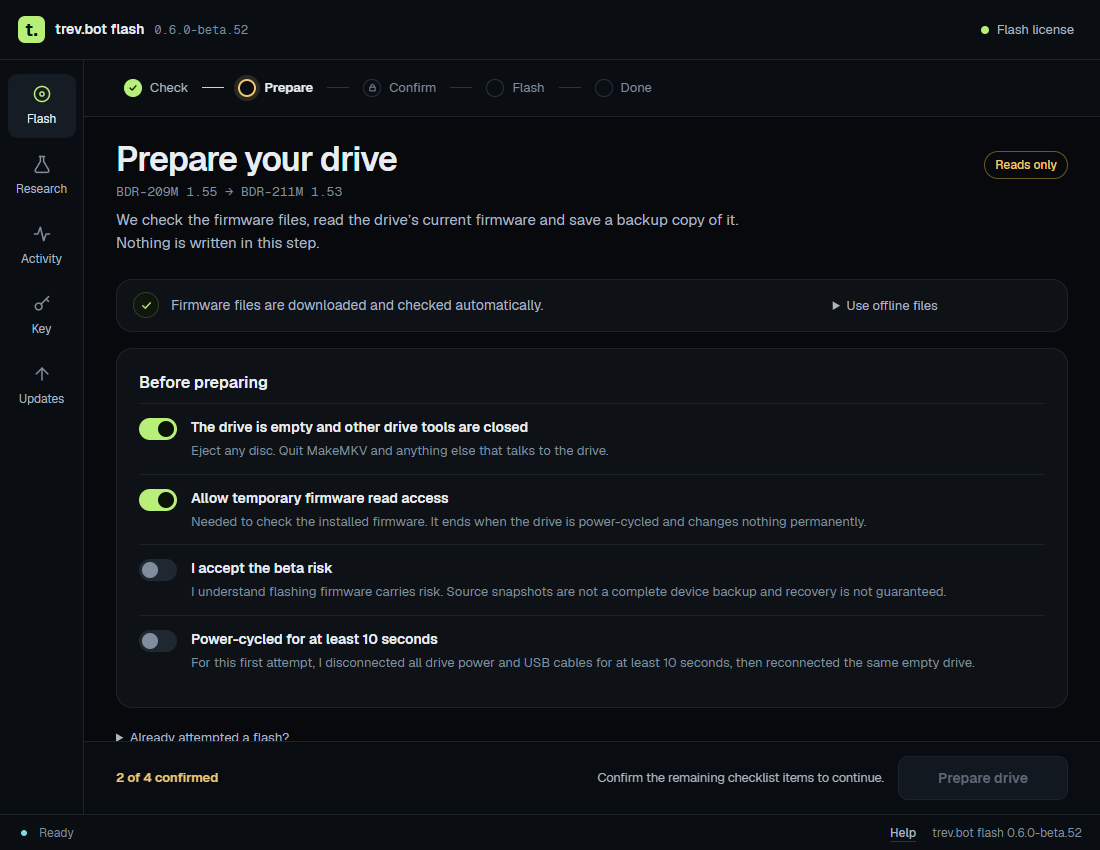
Prepare
The app downloads the firmware files, checks them against known-good hashes, and confirms your drive is ready. Nothing is written in this step.
- 3
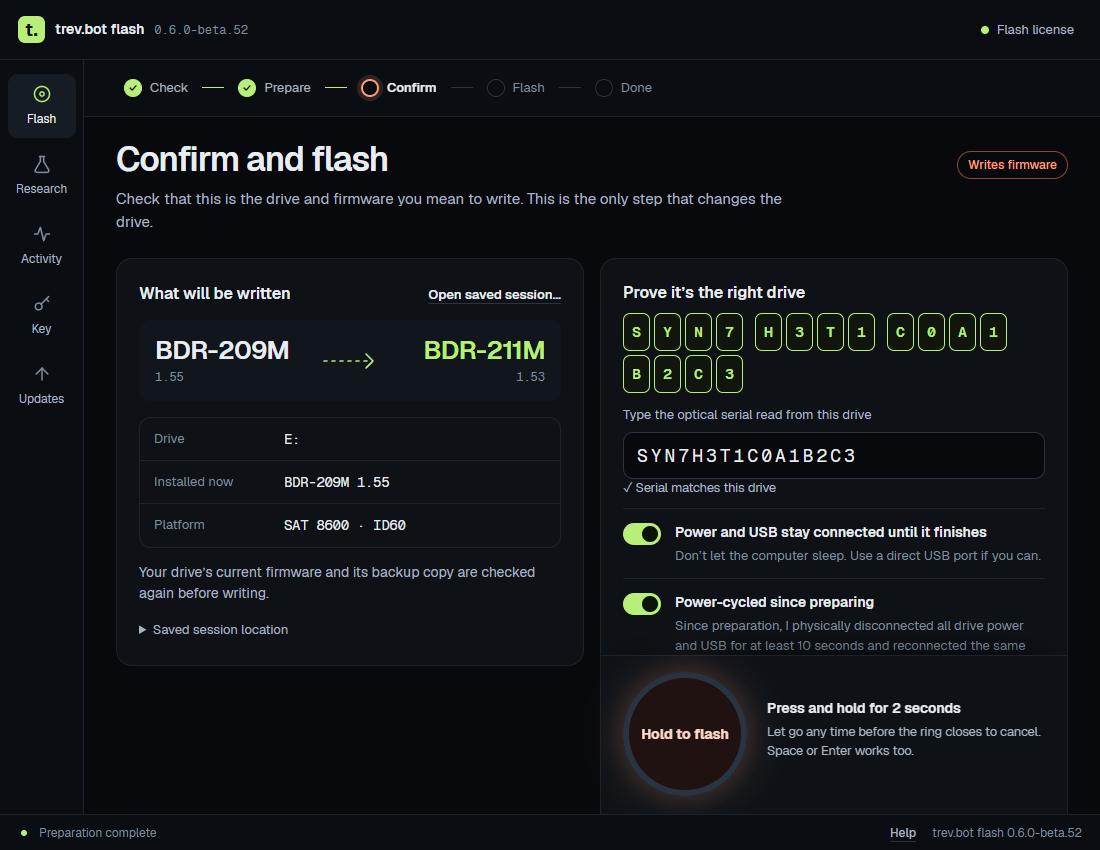
Confirm
Review exactly what will change, type your drive’s serial to prove it’s the right one. Then press and hold to start. Nothing is written until you do.
- 4
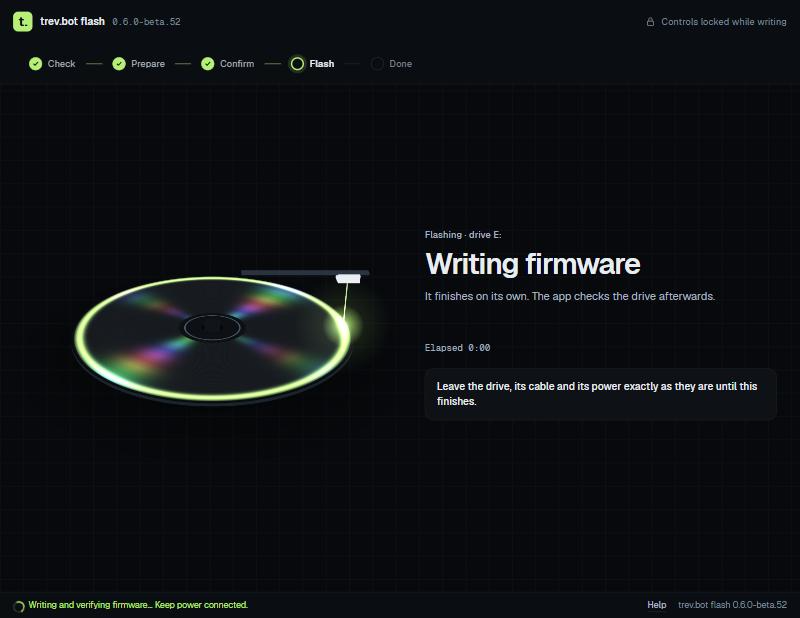
Flash
The app writes the new firmware and checks the drive afterwards. It finishes on its own. Leave the drive, cable and power as they are.
- 5
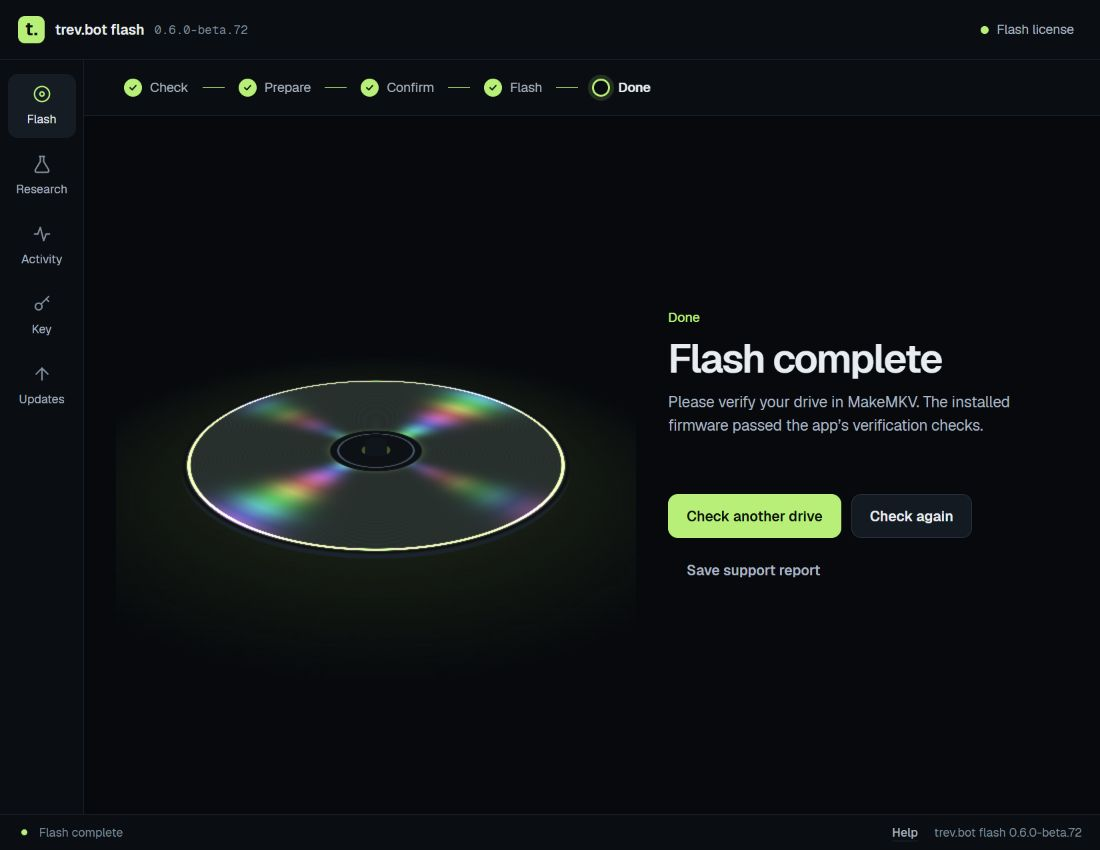
Done
Your drive now reports its new model and firmware. Open MakeMKV to confirm it reads your discs, and save the support report if you’d like a record.
Ready to flash your drive?
Download the app and check your drive for free. If it’s supported, buy a flash license and the app walks you through the rest.